- A GitHub account with admin access to a repository
- A data warehouse (Snowflake, BigQuery, PostgreSQL, etc.)
- Warehouse credentials
1. Connect your stack
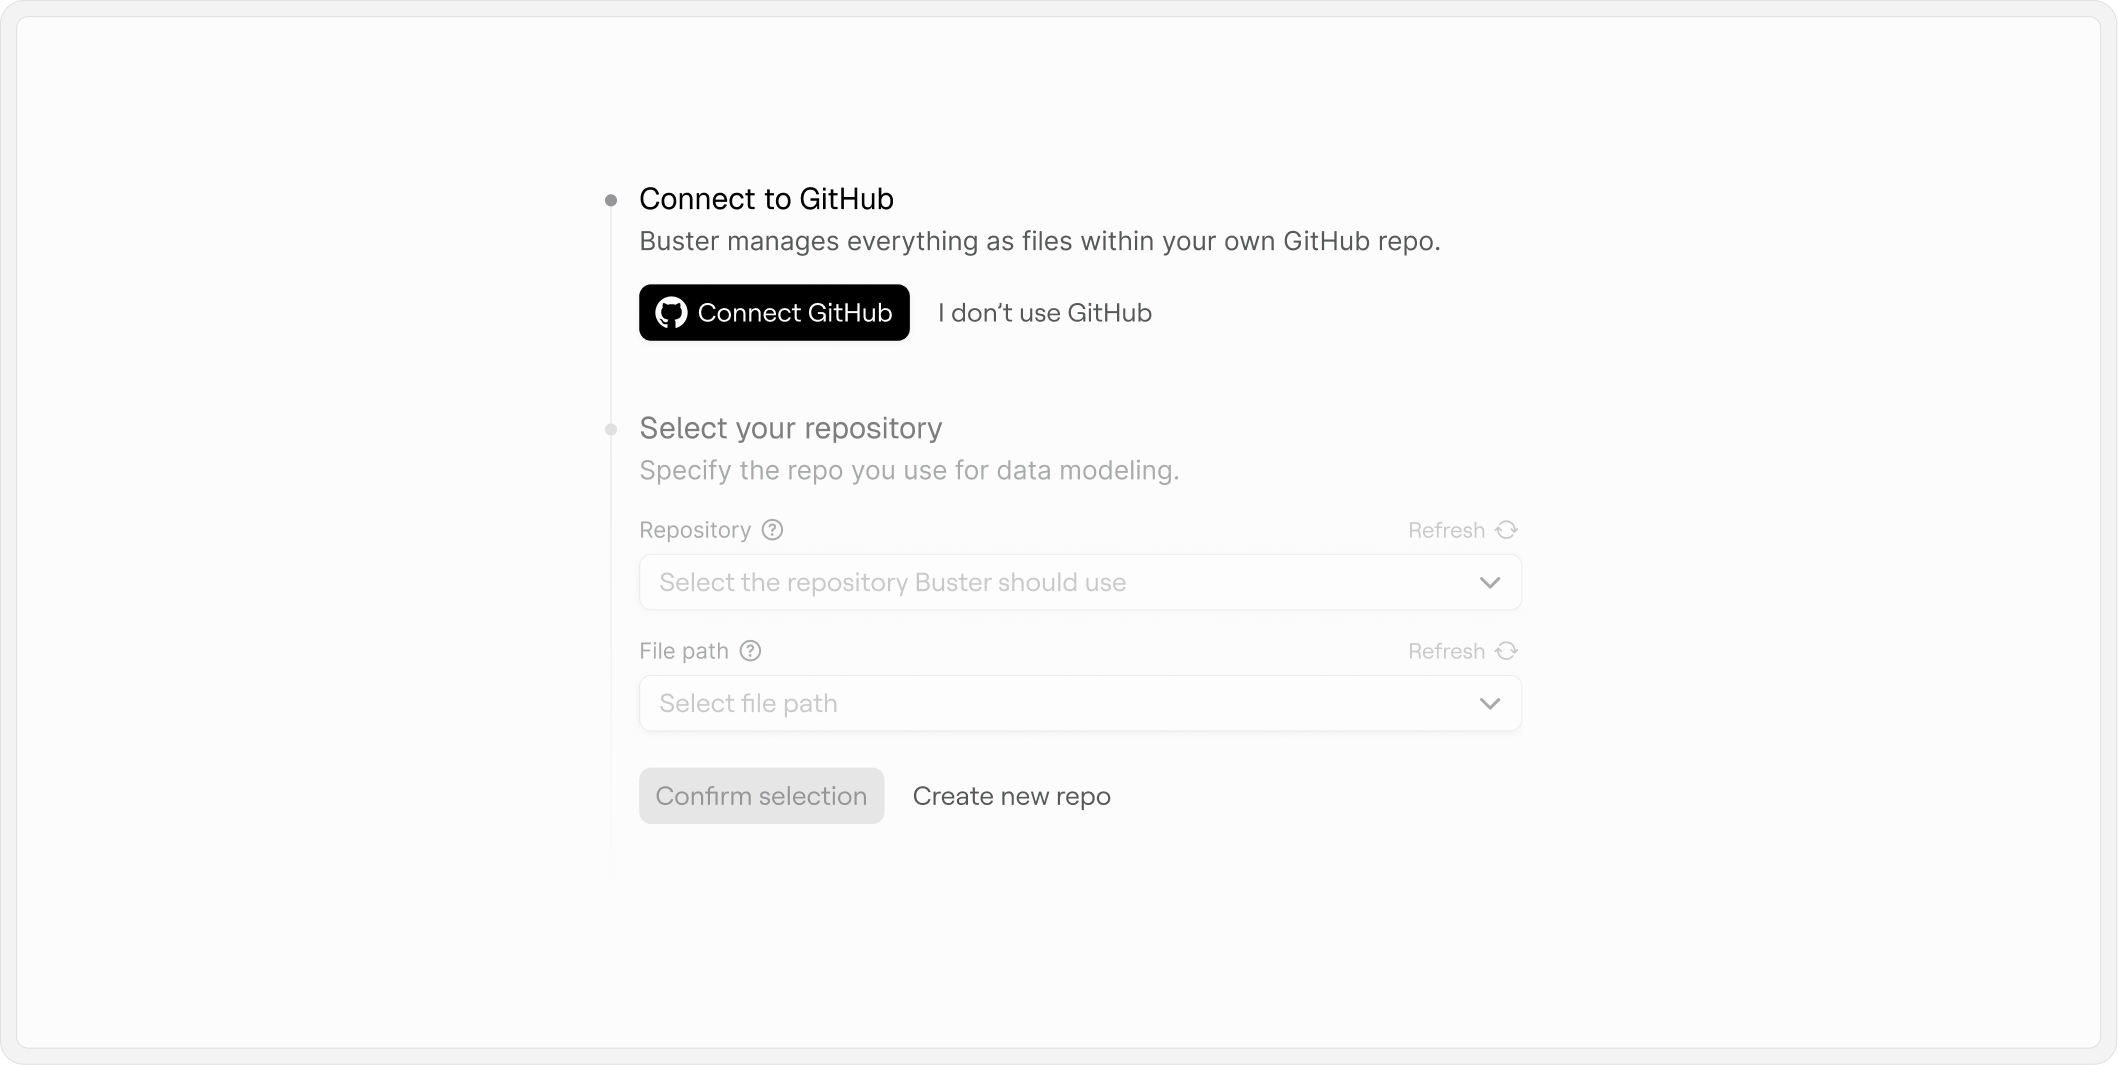
Go to buster.so and create an account. When prompted, install the Buster GitHub App on your repository. Choose “All repositories” or select specific repos.
What happens during onboarding: When you connect your repository, Buster automatically analyzes your project and creates an
AGENTS.md file. This file captures your technology stack, conventions, and patterns—giving all your agents deep context about your specific project.2. Install the CLI
Install the Buster CLI on your local machine:- macOS / Linux
- Windows
3. Authenticate
Get your API key from the Buster platform under Settings → API Keys, then authenticate:4. Create project configuration
In the root of your repository, create abuster.yml file:
buster.yml
The
data_source value must exactly match the data source name you configured in the Buster platform.5. Create an agent
Create a directory for your agents and add your first agent file:.buster/agents/pr-greeter.yml:
pr-greeter.yml
6. Deploy
Deploy your configuration and agent to the Buster platform:7. Test your agent
Create a test branch and open a pull request. Within a minute, you’ll see:- A GitHub Check Run from Buster showing the agent executed
- A comment from Buster with a friendly summary of your changes